In this tutorial you will learn how to automatically generate and submit a sitemap to Google Webmaster Tools from your WordPress installation. Once your site is up and running you might want to take some steps to optimize the site for search engines so you could get some more traffic. But before you start learning about SEO (search engine optimization) you should first measure the results you got and analyze your status. Without measuring, any optimization effort is prone to failure – you should be able to check if it has any effects. There are more tools you could use to analyze your traffic, including some very good free ones offered by Google: Analytics and Google Webmaster tools. Google Webmaster Tools is especially important because not only that you can learn more about your site, including which pages are in the Google index, crawling stats, popular search queries, sites linking, but by submitting a sitemap with all your site pages you can increase the number of pages that Google indexes.
Add your site to Google Webmaster Tools
Google Webmaster Tools are available here. Click on “Sign in to Webmaster Tools” button and use your Gmail email address to sign-in/sign-up.  After login, in the Dashboard page, click on the “Add a site” button.
  In the pop-up that opens, add the URL of your site (for example www.mysite.com)
  The next step is to verify the ownership of the site; basically you should upload a file to your site and Google verifies it.
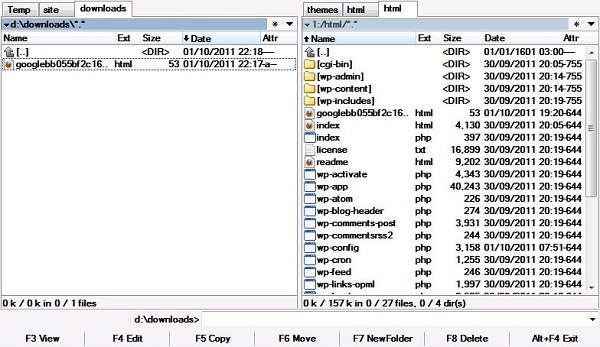
 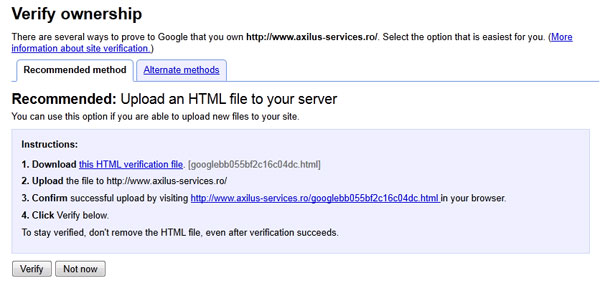 You should download the HTML verification file, then upload it to your site. In the screenshot below I’m using Total Commander to upload the file to the site root. In the left panel I have the file I have downloaded from the Google Webmaster Tools and in the right panel I have connected via FTP with the server. To upload the file, I select it on the left side and click on F5.
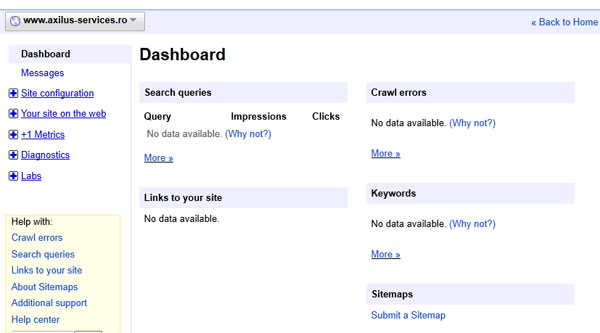
  After upload the file, go to Google Webmaster Tools interface and click on “Verify”. If everything is ok, the Dashboard should look something like in the screenshot below. But wait! There is no data! That’s the moment we should generate a sitemap and submit it to Google.
WordPress plugin to generate Google sitemaps for Google Webmaster tools
After a bit of research I found out that the easier way to generate a Google sitemap for a WordPress site is to use a plugin. For this tutorial I used the Google XML Sitemaps plugin that you can download from here. This plugin reads the WordPress database and generates the sitemap files and submits them to the Google Webmaster Tools. To use the plugin there are a few steps:
- Upload the plugin to the WordPress plugins folder
- Activate the plugin in WordPress dashboard
- Set the plugin options
To upload the plugin with Total Commander in the right panel browse (on the server) to wp-content/plugins folder. In the left panel, double click on the “google-sitemap-generator.zip” file. This will open the archive and you can see the plugin folder inside. Click on F5 to upload the entire folder to the plugins folder on the server.  Once the plugin files are uploaded, go to the WordPress dashboard and go to the Plugins menu:
 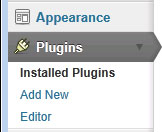 Next step is to activate the plugin. Locate the “Google XML Sitemaps” and click on the “Activate” link.
  Before the plugin starts generating the Sitemap files, you should upload some empty sitemap files. Download the sitemap.xml file and sitemap.xml.gz files and upload them to your site root. Using Total Commander, click F5 to upload the files from the left panel to the site root.
  After the files are uploaded, you should change the file attributes – the files should be writable by the plugin. Select the files on the server using “Insert” and click on Files/Change Attributes.
 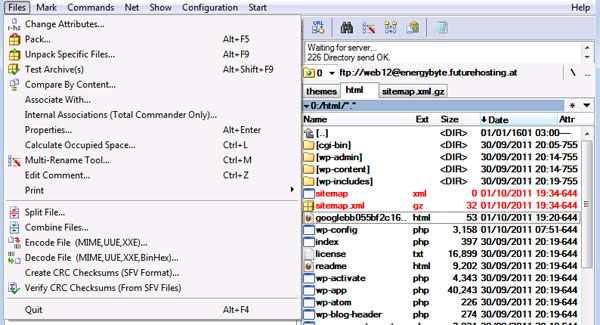 In the pop-up window set the attributes to 777.
Google XML Sitemaps plugin options
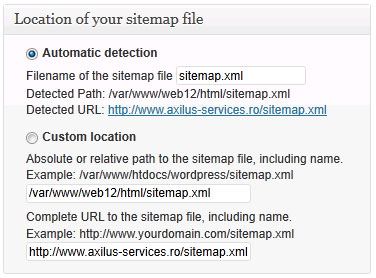
Once the files are uploaded and the plugin has the rights to write to them, it’s time to set the plugin options. In the WordPress dashboard go to Settings/XML-Sitemap. 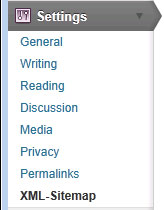 This will open the plugin options page. The first thing to look after is the Location of the sitemap file. If your WordPress is installed in the site root, the location of the sitemap file should be something like https://www.mysite.com/sitemap.xml If the WordPress is located in a different folder, you should check the sitemap file location.
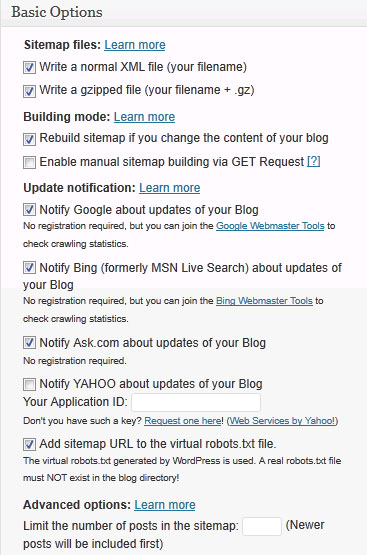
  The Basic Options are set by default, but you could have a look and see if you need to change anything.
  You should also have a look to what content is actually submitted from your blog. Submitting all the content is not necessarily the best option as WordPress generates different views to the same content and submitting everything will mark some pages as being duplicates (duplicate pages are bad for SEO).
 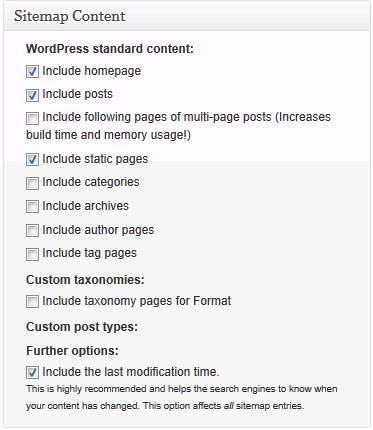 There are a few other options that you can play with, but I have covered the basics. It’s time to generate the sitemap for the first time. On the top of the page, you can see the sitemap status:
 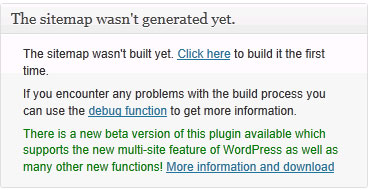 Click to generate the sitemap, and if everything is set correctly, the result should look something like in the screenshot below:
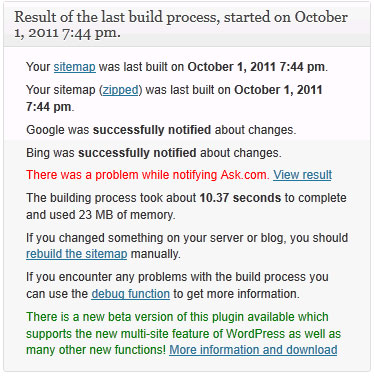
Final steps
After generating the sitemap on the server, you should submit the sitemap to Google Webmaster Tools (this should be done only once, as the plugin will submit the sitemap automatically after). Go to the Google Webmaster Tools dashboard and click on “Submit sitemap”. In the pop-up fill in the path to the sitemap file:  You’re done! In a few days you should get statistics on your site.
