In this tutorial I will show you how easy is to change the look and feel of the titles in a self-hosted WordPress blog. In theory each theme has a CSS file where you could easily modify the CSS, but as themes nowadays are more complex and can include multiple CSS files to accommodate different color theme variations, multiple layout styles and custom pages created from custom templates.
To overcome these situations where you are not sure what to change as depending on the theme you are using, the styling can be done in more ways so the steps below will provide a solution that should work no matter how the theme is implemented. Tools to make things easier:
- Firefox
- Firebug firefox addon
- FTP software to connect to the server and change the style file
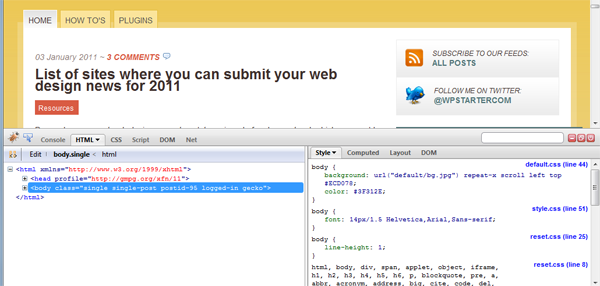
Let’s look at what we need to accomplish. If you look at the screenshot below, the 2 lines of the title overlap and the font is a bit too bolded. To change this you have to identify the code that generates the title and the style that sets the look&feel. 
Installing Firebug addon for Firefox
Installing Firebug is very simple; just go to the Firebug site https://getfirebug.com/ and click on the red button that says “Install Firebug for Firefox”  Afer restarting Firefox, you should see the Firebug logo at the right bottom of your browser:
  Go to the homepage of your blog and click on the Firebug logo to open the Firebug interface:
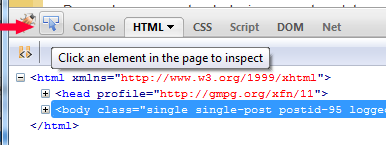
  In the Firebug interface click on the button that starts the element inspection:
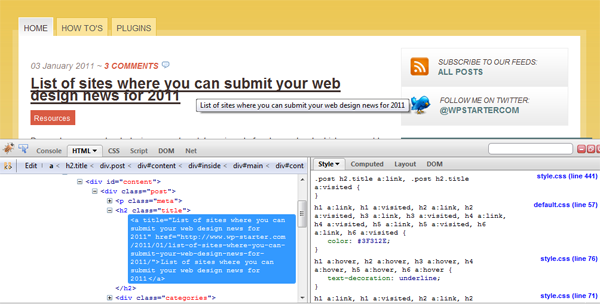
  Hover over the title and click on it. As Firebug is enabled, the click will not actually change the page to where the title is supposed to lead but will show the HTML code and linked CSS styles for the title:
  All the goodies are now in the Firebug interface: on the left panel you can see the HTML code (and in this particular case you can see the title is inside a H2 tag with the class title and the CSS code that handles the styling of the title is on the right side, including the indication in what file that CSS code is (style.css, default.css etc).
Changing the CSS for the WordPress titles
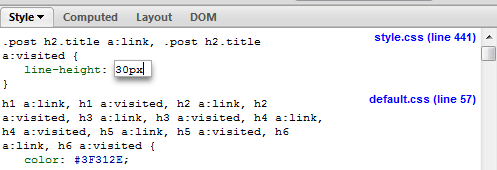
Goodies aren’t over yet; the absolute amazing thing about Firebug is that you can actually make changes to the CSS in the right panel and see the results on the fly in the browser. For example, I need to have more space between the lines of text in the title so they don’t overlap. To do this, click in the CSS code where you want more elements, in my case after .post h2.title a:link, .post h2.title a:visited { and insert the CSS code you need.  As soon as you finish typing the CSS code, the change will appear in the browser, for example the space between the 2 lines of the title:
Making the changes on the production server
One of the issues with Firebug is that it doesn’t make real changes on the CSS files. So you will need to open and edit the CSS file and add the CSS code you just tried in Firebug. But Firebug makes this a trivial task as it indicated the CSS file where you should customize the CSS code:  So all you need to do now is to connect to the server with your FTP software, download the file locally, make the changes then upload it back! As a best practice, you should verify how the changes look in various browsers: IE6-9, Firefox, Safari.
